I've been working the last few days on something I've been putting off for over a year now--a yarny tote!

Originally, I planned to up-cycle this thrift store find with deep red crochet roses. After spending an hour making three roses and knowing I was going to need tons more, I gave up on the idea. The roses found another home, and the bag, well, it just hung out in my closet. This week I decided to give it another go and I am so happy with the results!!
Here's what I did.
I started out making sunburst granny squares following THIS pattern from the Bunny Mummy Blog. It is a fantastic photo tutorial I have used before. I just love it! I would lay out the squares onto the tote as I went to get a gauge as to how many squares I needed. I ended up making 30 squares and I joined them as I went using THIS join as you go method found on the Attic24 Blog--another favorite of mine.


At this stage, I added two granny stripes on each of the longer sides to finish and neaten up those edges. The first stripe was easy as I just tied on my yarn and started making that little granny triplet of double crochets in each space.
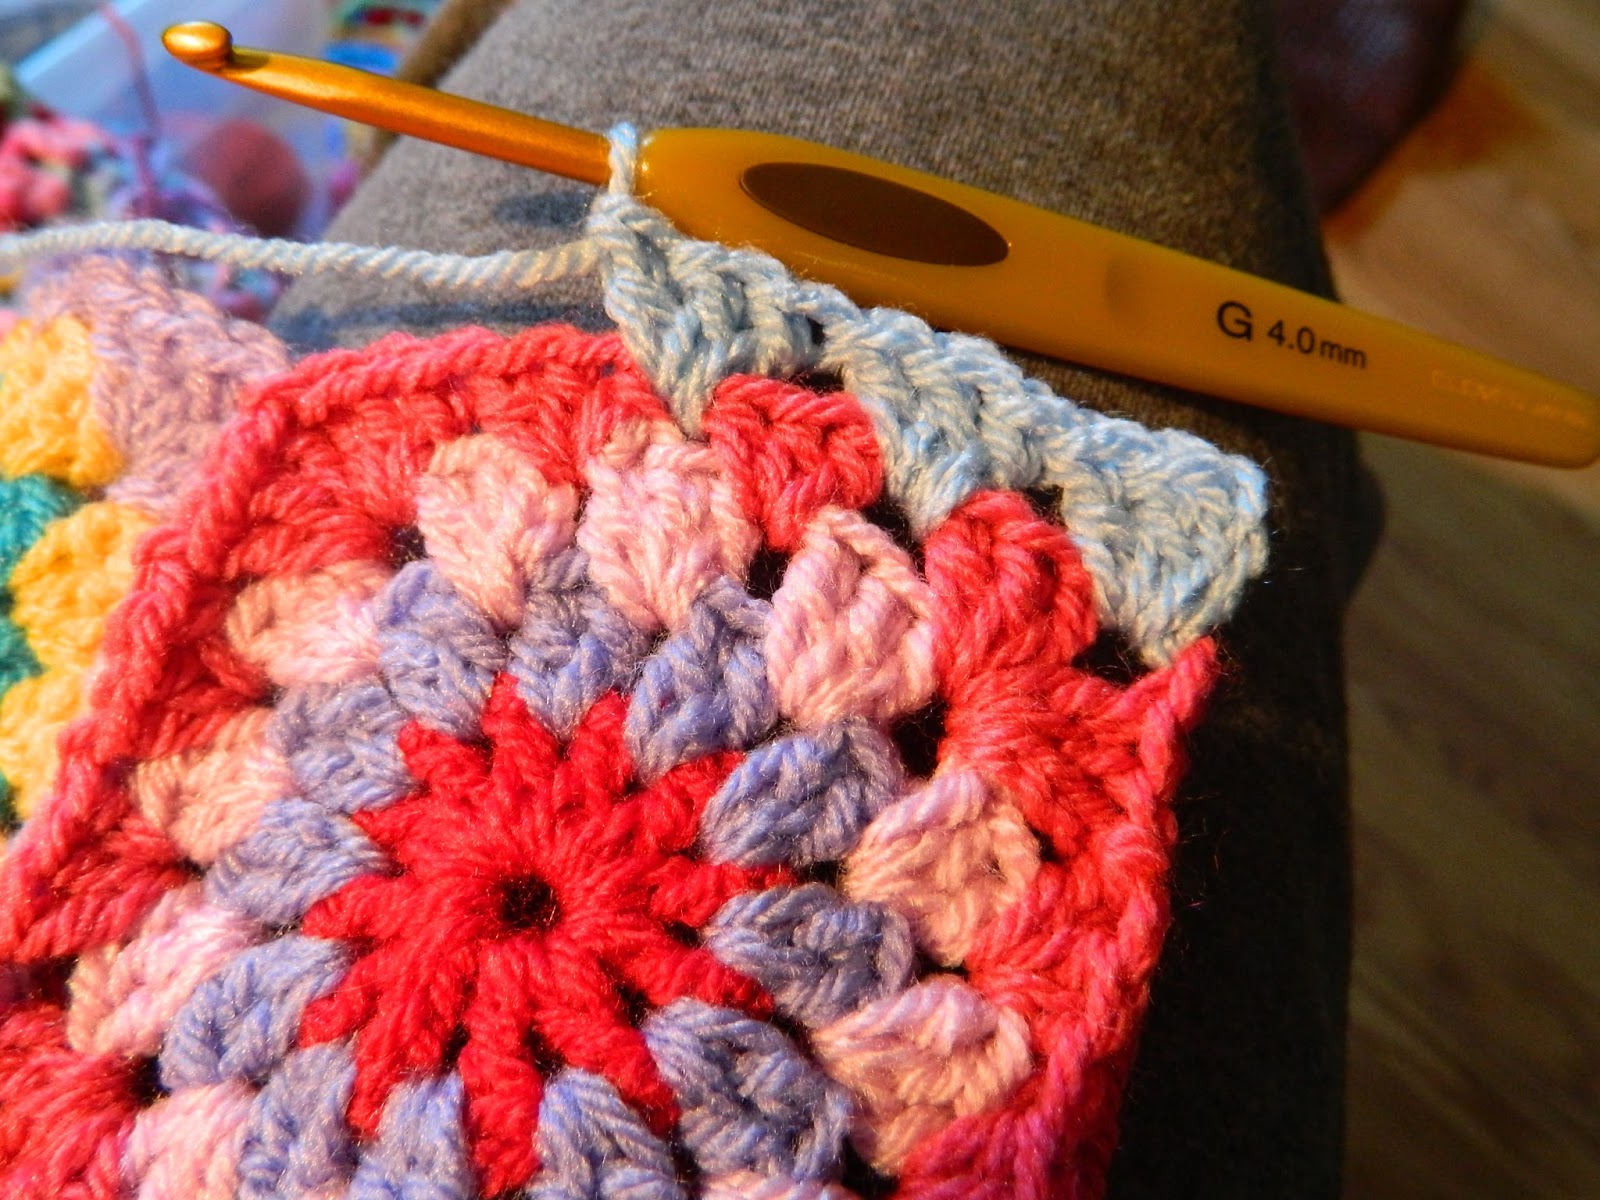
Once I had the blue stripe on each side, I added a red stripe. This one wasn't hard to add, but I had to think about what I was doing to make it even and visually pretty!
I tied on my yarn in the space between the first two double crochets.

I then chained five. My thinking was the first three would count as 1 double crochet and the remaining 2 chains would account for the the yarn space needed to get me to the opening between those two granny clusters.


I figured right and just crocheted away. When I got to the end, I used the same logic as in the beginning but in reverse. I crocheted that last granny cluster, chained 5 and then slip stitched between the last two double crochets.

Once this was all done, I was ready to sew the crochet piece to my bag. I settled in at the dining room table with the bag, crochet, needle, and thread and started sewing the crochet to the top of the bag.
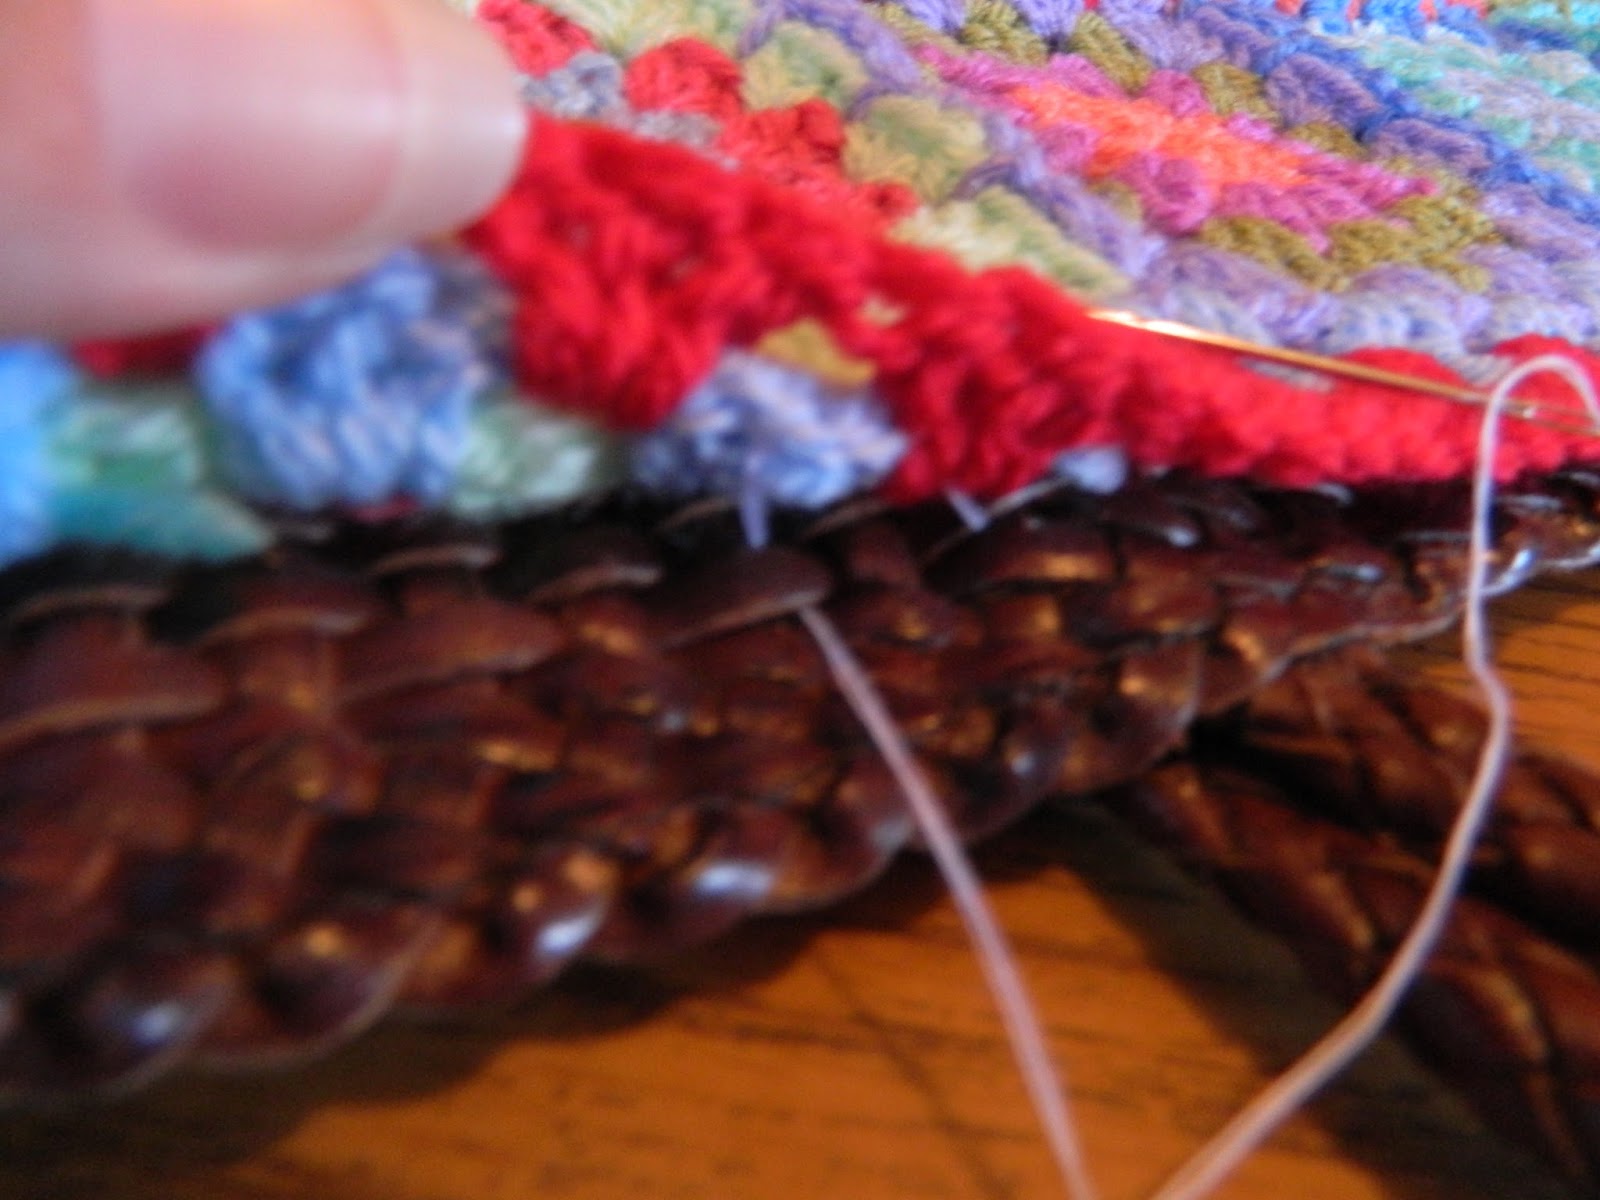
My bag is an L.L. Bean woven purse found at the local Goodwill store for $7.00! The weave of the bag made it easy to sew on the crochet piece.
Once I sewed the crochet all the way around, I sewed up the side making sure to match up stripes and squares. To do this, I folded over the crochet piece so that the wrong side was facing out and I used needle and thread to sew it up.

Hopefully this shows what I mean by what I just typed!!
After this was done, I contemplated how to tack down the bottom of the purse. I first decided to add another round of granny clusters to finish off and neaten up what I had sewn together and then decided I wanted to go ahead and cover the bottom. Again, I put my thinking cap on to figure what to do. With no results, tired eyes, and a sore back from hunching over that table, I went to bed!
When I woke up, it dawned on me. . . decrease, decrease, DECREASE!!!! Probably not a novel idea, but it was for me. After a cup of coffee I got started.
I began by tying on my yarn and instead of starting with a granny cluster, I did what I call a decrease. It's the same method I use when adding that first row of edging to a granny blanket. The method can be found HERE. Again, I have to credit Bunny Mummy Blog for this.


This just shows the steps I took, but it is explained very well in BM Blog.
I slip stitched at the end of the row and fastened off.

I followed the same method for each round making sure to start a new round in a new location: I did a decrease at the beginning, crocheted around, slip stitched and fastened off. In the picture below you can see the blue decrease is in the upper left hand corner and the yellow decrease is in the upper right hand corner. That's what I mean be starting in different places. After a few rounds, the bottom wasn't "closing" as much as I wanted it to, so I went on decrease overload.

This is what the bottom ended up looking like. Once I started with the purplish yarn I crocheted a decrease, 2 normal granny clusters, a decrease, 2 normal, etc. until I made the round. That still wasn't doing what I wanted SO the next round I decreased every other cluster. I was getting there! The LAST round I made I decreased every time and it pulled everything taut and did exactly what I wanted. Knowing what I know now, I would decrease more each round instead of saving for the end.
I finished off the top of the bag by tying on the red. Between each cluster I made a single crochet, chained three, single crochet, all the way around.

I did this twice which is what's shown above, except on the second round, the single crochet was made in the previous chain, then chain three, single crochet, and so on. No idea why the picture is sideways. . . .or why my forefinger looks really fat. . .
On this last round, I did bring the yarn around the handles of the bag to add a little bit more security.

And that was that!!

I am super pleased with how this tote turned out! I'm proud that I worked through some obstacles and figured out how to fix what, a year ago, would have frustrated me into tossing another unfinished project in the closet!
Happy Crocheting!!!
